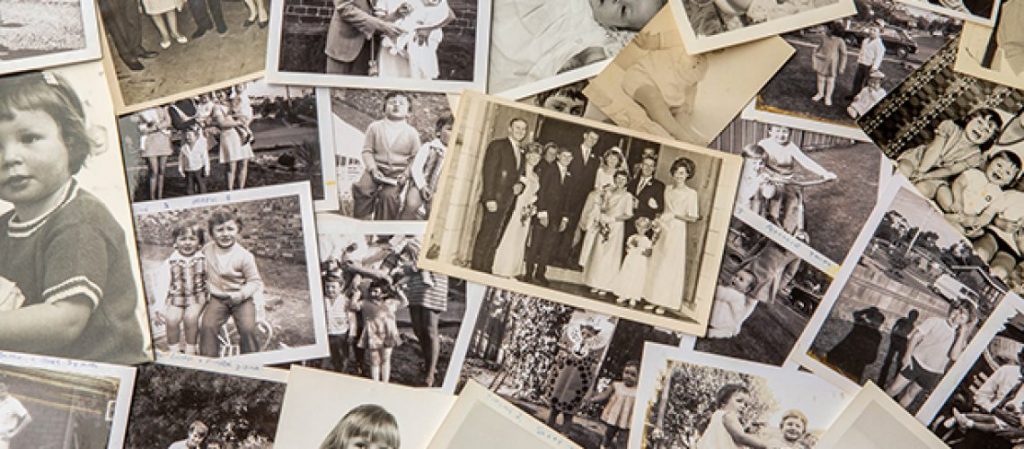
Last year, I helped mum organise her family photos. She had already gone through many of her photos, and some had ended up on her wall in collages that she’d enjoyed putting together. But the majority were still sitting in various albums, or loose in drawers and boxes. Over the years, she had also given quite a few family photos to me, so I brought what I had, to add to hers.
We started in July and I brought a fold-up table with me, which we set up in her spare room. She also had a spare bed in this room, which was very handy for setting up the numerous shoeboxes that I’d brought along.
We talked about the goals that we wanted to achieve, and broke the project down into phases, to make it more manageable. I wrote these phases down.
Armed with cotton gloves to protect the photos, the first phase involved us sorting all the loose photos into piles based on their various sizes (using the table that I’d brought along as a sorting table). We also placed all the albums together in a pile, along with another pile of framed photos, and another for memorabilia.
We labelled the shoeboxes into decades, and A’s B’s and C’s and then we were ready to organise the loose photos.
Over the coming weeks, we went through each pile of loose photos, and organised them into decades, putting each photo in the appropriately labelled shoebox.
The next phase of the process was to take all the photos out of the various albums and frames and once again, place into piles on the sorting table. Once again, we organised them into decades, using the labelled shoeboxes.
Once all photos and memorabilia had been sorted chronologically into decades, we used the ABCs method to further organise each decade or box of photos[1]. This involved deciding if each photo was an A, B or C, and whether it had an S. An A photo was a photo that we thought should be scanned and included in a possible photo book. It went into the A shoebox for that decade. A B photo was one that we wanted to keep, but not necessarily scan, and it was placed in the B shoebox for that decade. Any C photos were duplicates, or duds, and were put aside in a separate C shoebox to be ‘canned’. An S photo was a photo that had a story behind it. I was fortunate enough to be going through mum’s family photos with mum herself, and any time we came across a photo that had a story behind it, I would write the story down on an index card and place it in an envelope which stayed with that particular photo. The story told the ‘who, what, where and why’ of that particular photo. We used index cards to further sort the A and B photos into years within each decade.
As you can imagine, this whole process was very involved and took some time. I would go to mum’s place each Sunday morning for two to three hours and work with her to get it done. It took us about three months. We had a few laughs, and I learnt a lot about mum’s family. I loved discovering old photos that I thought were such classics, and I loved hearing the stories behind them.
During the process, my mum’s sister brought more old family photos to mum’s place, so we sorted through these, too, and added to the various piles. Included in these was a very old album from the early 1900s, and unfortunately, most of the people in the photos were not known to us. We salvaged those photos where mum knew the subjects, and being of historical value, they are quite amazing to have in the collection.
Once everything had been organised, I took the various shoeboxes home with me, and over the next couple of months, carefully scanned the A photos, including any index cards that told the story of its accompanying photo. Once scanned, I digitally organised these photos which included changing the dates to reflect as accurately as possible the timeframe that the photo was taken. It also included adding subject names, locations and events. If the photo had a story attached, I entered this story into the digital file as a caption.
By adding all of this information to the scanned, digital photos, I am safe in the knowledge that the history of my family, and that of my mum, will not be lost for future generations. Being scanned and organised, I will easily be able to make a family photo book (when I have the time)!
The actual printed photos, both As and BS, are now safely stored in archival quality boxes and folders.
The process of organising mum’s photos was very worthwhile and an important project to complete. It’s great to now have easy access to the digital versions. Above all else, spending regular time with mum over the period of three months or so, learning about her family, re-living memories and having lots of laughs was a time that I will always cherish.
[1] ABCs method of photo organising, as developed by Cathi Nelson, founder of The Photo Managers


